DIY wedding projects are magical… until they’re done the week of the wedding.
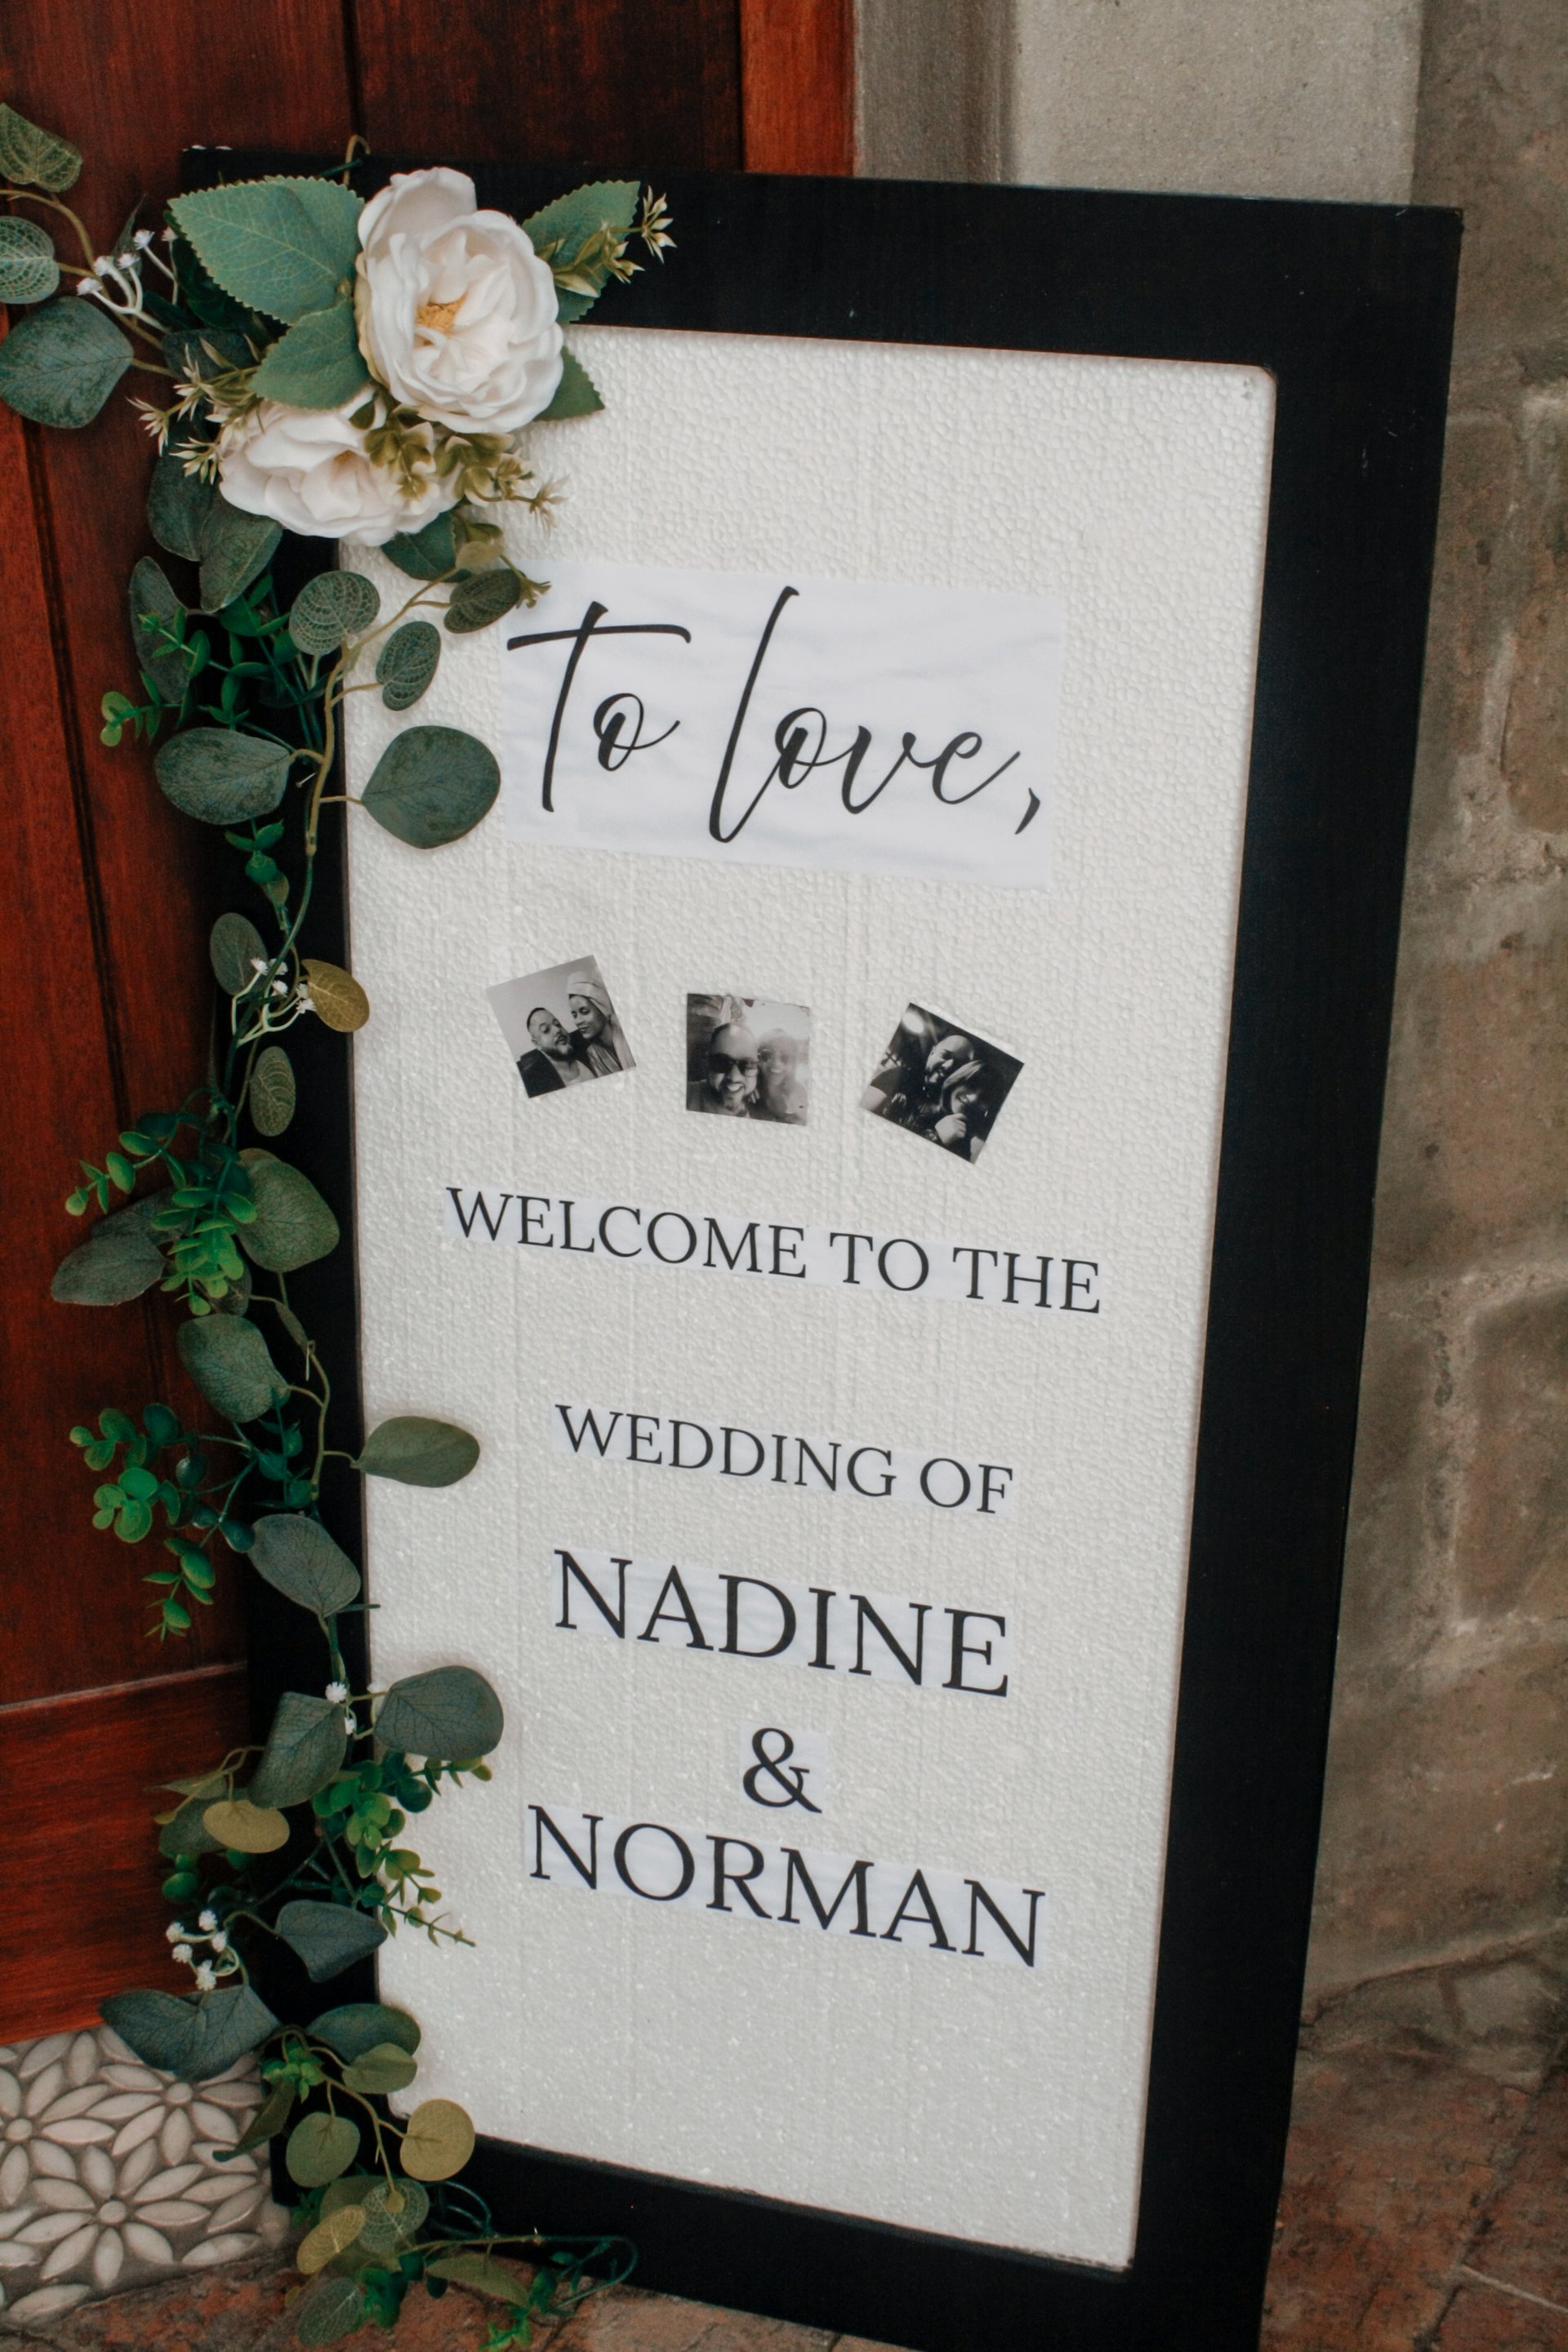
For our welcome sign, I used a styrofoam board as the backboard. I designed the wording on my laptop and printed it onto normal A4 paper. I then cut it out and glued it directly onto the board.
I added faux flowers down one side and included three photos of my husband and I to make it more personal.
It didn’t look bad.
But it definitely could have been done better.
And the biggest mistake?
Leaving it for the week of the wedding.
What I Learned About DIY Wedding Signs
When you're rushing, you compromise on finish.
Our sign worked. It served its purpose. But because I didn’t plan ahead:
- The paper edges were visible.
- The glue wasn’t perfectly flat.
- The seating chart (on our LED display board) was also printed on normal paper and glued on.
- There wasn’t enough time to refine the details.
And small details make a big difference.
So if you’re planning to DIY your wedding welcome sign or seating chart, here’s how to elevate it properly.
How To DIY Your Welcome Sign (The Right Way)
1. Use a Proper Backboard (Not Styrofoam)
Styrofoam bends, dents easily, and doesn’t photograph beautifully.
Better options:
- 5mm foam board (much sturdier)
- MDF board painted in your wedding colour
- Acrylic sheet (for a modern look)
- Or a stretched canvas backboard
Canvas is especially beautiful because:
- It photographs well
- It gives a clean, matte finish
- It doesn’t show glue lines
- It looks intentional instead of temporary
(And this is exactly why we now offer a printed canvas backboard rental option — more on that below.)
2. Don’t Print on Standard Paper
Printing your welcome sign on normal printer paper is the fastest way to make it look DIY.
Instead:
- Print your design on one large-format sheet at a print shop.
- Use vinyl lettering applied directly to the board.
- Or print directly onto canvas.
This instantly elevates the look from “home project” to “styled wedding feature.”
3. Use the Frame Properly
In the photo you attached, you’ve got two gorgeous empty frames - these are actually your secret weapon.
Instead of gluing paper directly onto backing:
For the welcome sign:
- Insert a printed canvas into the frame.
- Or use a single large acrylic panel secured inside the frame.
- Add florals anchored at one corner (instead of glued flat across).
This keeps everything structured and polished.
The LED Seating Chart Board (And How To Upgrade It)
The LED display board we used for our seating chart was actually so cool!
But again.. time pressure.
We printed the seating plan on normal paper and glued it onto the backboard.
It worked, but it didn't shine the way it could've.
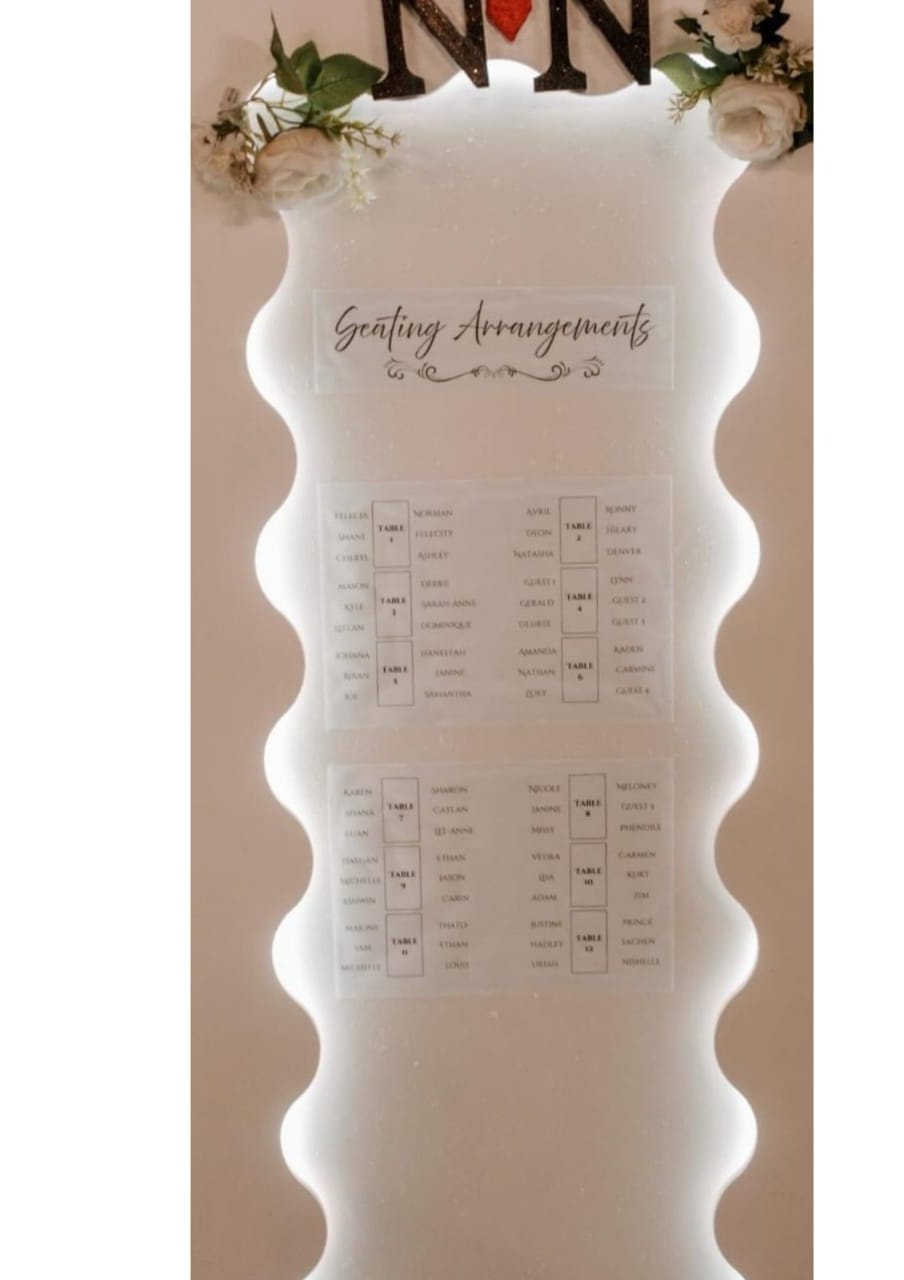
Here’s how to do it better:
Option 1: Transparent Acrylic Overlay
Print the seating chart onto clear acrylic and mount it slightly in front of the LED backing so the light shines through.
Option 2: Frosted Vinyl Lettering
Apply frosted vinyl text directly onto a clear panel - the LED lights will illuminate the names beautifully.
Option 3: Sectioned Mounted Cards
Instead of one large sheet:
- Mount individual table cards onto small acrylic or card panels.
- Space them evenly within the frame.
- Add subtle backlighting for dimension.
It turns a functional seating chart into an actual feature piece.
The Rental Option (For Brides Who Want the Look Without the Stress)
If I could redo it, I would:
- Plan it earlier.
- Print onto canvas.
- Use structured materials.
- Avoid gluing anything the week of the wedding.
That’s exactly why we now offer:
- A framed welcome sign with a professionally printed canvas backboard
- A styled seating chart display board (including LED option)
- Custom design done for you - no cutting, no gluing, no stress
You still get the personalisation.
You still get the DIY aesthetic if that’s your vibe.
But without the 11pm panic session surrounded by glue sticks.
Final Thoughts on DIY Wedding Projects
DIY can be beautiful.
But give yourself:
- Time
- Proper materials
- And realistic expectations
Because the goal isn’t just to save money.
It’s to enjoy the process.